https://postgresapp.com/downloads.html
여기서 latest version을 다운로드 한다.
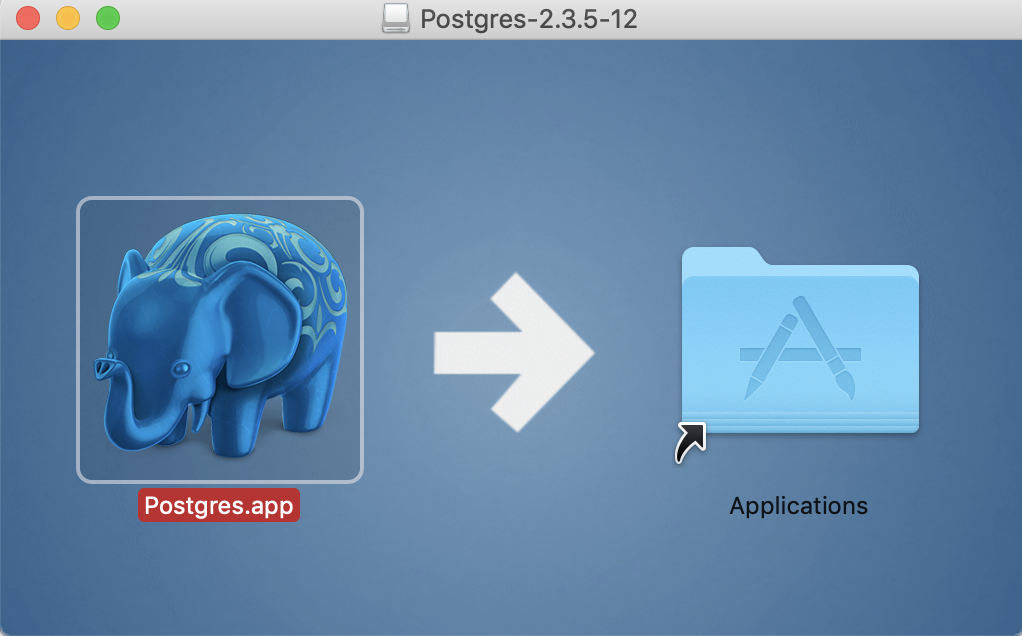
이런 팝업이 뜨면 Postgres.app 을 Applications에 드래그 한다. 그러면 Applications 폴더에 Postgre가 생긴다. 실행을 한다.
Application에서 postgres app을 실행한다. 처음 실행하면 Initialize 버튼을 클릭한다.

PostgreSQL 에서 root 계정이 postgres인것 같다. postgres를 더블클릭하면 터미널이 열린다.

postgres계정 비밀번호를 세팅한다.
postgres=# \password postgres
Postgres create database - Postgres 데이터베이스 생성하기 - dbredb 라는 데이터베이스를 postgres 유저가 만든것
CREATE DATABASE dtredb OWNER postgres;
Postgres create user - Postgres에서 유저 생성하기 - jenny라는 유저를 생성하고 비밀번호는 jenny로 만든것
create user jenny with password 'jenny';
Postgres create database with user jenny - jennydb라는 데이터베이스를 만들고 그 데이터베이스의 오너는 jenny로 설정
CREATE DATABASE jennydb owner jenny

Postgres Grant privileges - Postgres 권한 설정
Grant all privileges on database jennydb to jenny;

이제 데이터베이스를 만들었으니 django 프로젝트에 연결을 해보겠다. 먼저 pip로 설치를 해야한다.
pip install psycopg2
pip install psycopg2-binary
설치 한 후 위에 만든 정보를 아래와 같이 입력한다.
# settings.py

DATABASES = {
    'default': {
        'ENGINE': 'django.db.backends.postgresql',
        'NAME': 'jennydb',
        'USER': 'jenny',
        'PASSWORD': 'jenny',
        'HOST': 'localhost',
        'PORT':'5432'
    }
}
그리고 migrate 하면된다.
python manage.py migrate
데이터베이스 테이블 확인하는 법 -
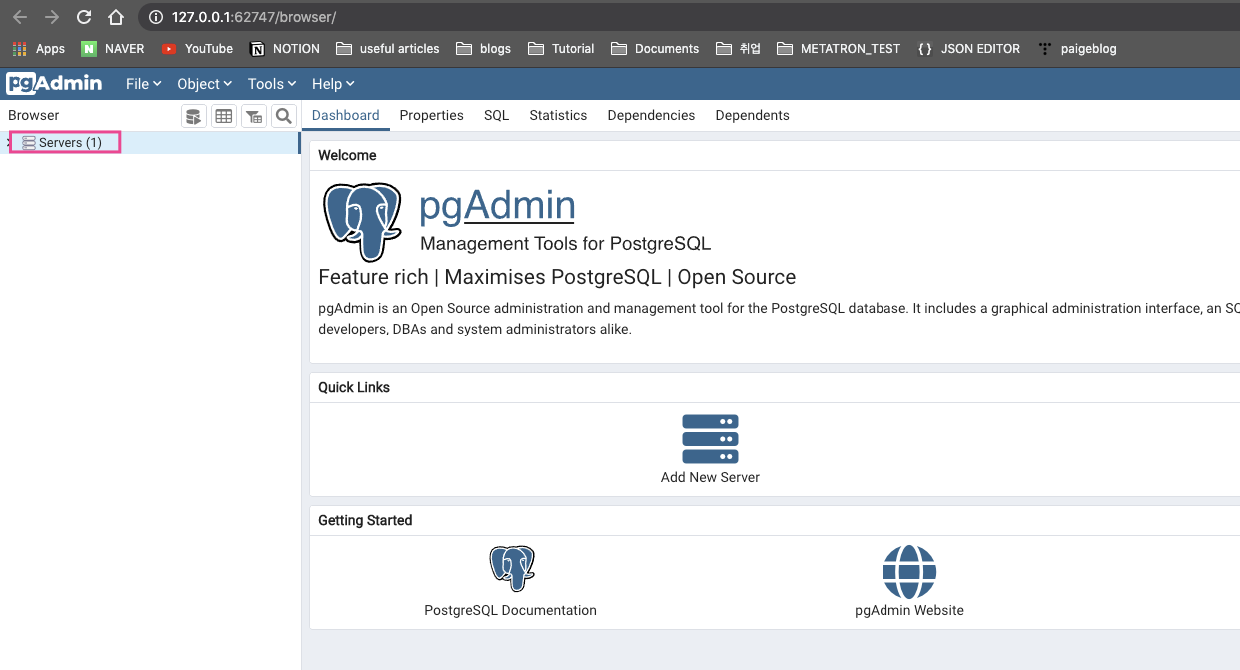
나는 이것을 사용해 봤다. 설치하고 실행하면 아래와 같은 화면이 나온다.
Servers > 오른쪽 마우스 클릭 > Create > Server
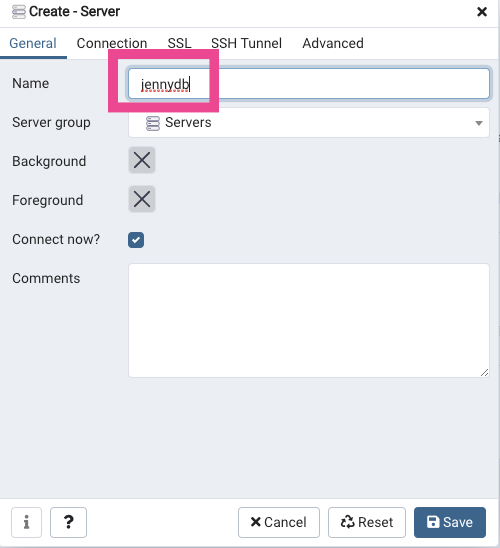
위에서 만든 데이터베이스와 유저이름 등을 입력하고 Save버튼을 누른다

jennydb에 연결되고 jennydb > databases > schemas > public > tables안에 생성된 테이블이 보여진다. (django에서 기본적으로 제공하는 테이블 들)


사실 postgre를 썼지만 mysql도 거의 동일하다. django랑 데이터베이스를 연결하는 부분이!
'개발이나하자.. > others' 카테고리의 다른 글
| [window]윈도우에서 파이썬 설치 및 환경변수 설정하기 | 파이참 파이썬 세팅 | venv 실행 (0) | 2020.09.02 |
|---|---|
| [CS 기초] Trees Basics | 트리 알고리즘 기초 | DFS Depth First Search 이론 | 깊이 우선 탐색 (0) | 2020.05.26 |
| [mysql] AWS RDS + django 에서 한글이 인식이 안 될 때 (0) | 2020.04.22 |
| [mysql] pip install mysqlclient 에러 (0) | 2020.04.07 |
| [CS 기초] Linked List (0) | 2020.01.10 |


