요즘 듣고 있는 RxJs강의가 굉장히 재미있다. RxJs를 이렇게 쉽게 설명해주는 사람은 처음이다. Max 대단해 ^^*
시간이 있다면 쭉 듣는 것 추천! 강의가 짧지만 아주 유익하다.
https://www.youtube.com/playlist?list=PL55RiY5tL51pHpagYcrN9ubNLVXF8rGVi
Understanding RxJS - YouTube
RxJS and reactive programming is a hot topic - but what is it actually and how does it work? This series let's you dive into it!
www.youtube.com
저번 rx 공부랑 이어서 간단한 테스트를 위해 JS Bin을 이용했다.(Rx 라이브러리 script로 추가해야 함)
https://jsbin.com/?html,js,console,output
JS Bin
Sample of the bin:
jsbin.com
RxJS에서 많이 사용되는 operator들을 간단하게 공부해 보았다.
기본 적인 Observable 사용 예
# Observable 생성. 여기서 .interval(1000) 지정된 시간 간격 마다 순차 번호를 내보낸다. 0, 1, 2 ...
var observable = Rx.Observable.interval(1000);


# observer 생성/선언
var observer = {
  next: function(value) {
    console.info(value)
  },
  error: (error) => {
    console.info(error)
  },
  complete: () => {
    console.info('Completed')
  }
}

# observable을 subscribe하면 0 1 2 3 4 .... 1초에 한번씩 숫자를 출력한다.
observable.subscribe(observer)
map operator : Observable에서 내보낸 가각의 (데이터에 / 아이템에 ) 함수를 적용한다.
http://reactivex.io/documentation/operators/map.html
ReactiveX - Map operator
RxJS implements this operator as map or select (the two are synonymous). In addition to the transforming function, you may pass this operator an optional second parameter that will become the “this” context in which the transforming function will execu
reactivex.io
var observable = Rx.Observable.interval(1000);

var observer = {
  next: function(value) {
    console.info(value)
  },
  error: (error) => {
    console.info(error)
  },
  complete: () => {
    console.info('Completed')
  }
}

# map을 사용하는 예. 여기서는 위에 observable에 interval을 적용하면 0 부터 순차적으로 숫자를 내보낸다.
# 0 1 2 3 4 ... 이렇게 출력이 되는데 아래처럼 .map 을 사용하면 값에 2를 곱한 수를 출력한다.
# 0 2 4 6 8 ... 이렇게 각 데이터를 변경 할 수 있다.
observable.map((value) => {
    return value * 2
}).subscribe(observer)
throttleTime operator : 첫 번째 값을 emit 하고 ~초 동안 무시한다
https://www.learnrxjs.io/learn-rxjs/operators/filtering/throttletime
throttleTime
www.learnrxjs.io
var observable = Rx.Observable.interval(1000);
var observer = {
  next: function(value) {
    console.info(value)
  },
  error: (error) => {
    console.info(error)
  },
  complete: () => {
    console.info('Completed')
  }
}

# 여기서 .throttleTime은 첫번쨰 값을 emit하고 2초 동안 무시한다. 그러니깐 위에 interval 로 1초에 한번씩
# 숫자가 emit 되지만 throttleTime에 2초를 줬으니깐
# 0 을 출력하고 2초를 쉬니깐 3이 출력되고 또 2초를 쉬니깐 6을 출력한다.
observable.map((value) => {
  return 'Number: ' + value
}).throttleTime(2000).subscribe(observer)
filter operator : 컨디션을 통과한 아이템만 emit 한다
http://reactivex.io/documentation/operators/filter.html
ReactiveX - Filter operator
RxJS implements this operator under two names, but with identical behavior: filter and where. This operator takes two parameters: the predicate function, and an optional object that will represent that function’s “this” context when it executes. The
reactivex.io
var observable = Rx.Observable.interval(1000);
var observer = {
  next: function(value) {
    console.info(value)
  },
  error: (error) => {
    console.info(error)
  },
  complete: () => {
    console.info('Completed')
  }
}
"""
filter 사용 법. 위에서 interval로 0 1 2 3 4 이렇게 숫자를 emit한다.
.filter를 걸었는데 filter의 컨디션은 값을 % 2 했을때 0 인 숫자만 리턴하라고 한다.
즉 짝수만 리턴하라는 뜻
아래 코드는 0 2 4 6 8 ... 이렇게 출력된다.
원하는 값을 "필터" 해서 emit할 수 있는 기능이다.
"""
observable.filter((value) => {
  return value % 2 == 0
}).subscribe(observer)
debounceTime : 이것을 어떻게 설명해야 하는지;;;
http://reactivex.io/documentation/operators/debounce.html
ReactiveX - Debounce operator
The first variant — called either debounce or throttleWithTimeout — accepts as its parameter a duration, defined as an integer number of milliseconds, and it suppresses any emitted items that are followed by other emitted items during that duration sin
reactivex.io
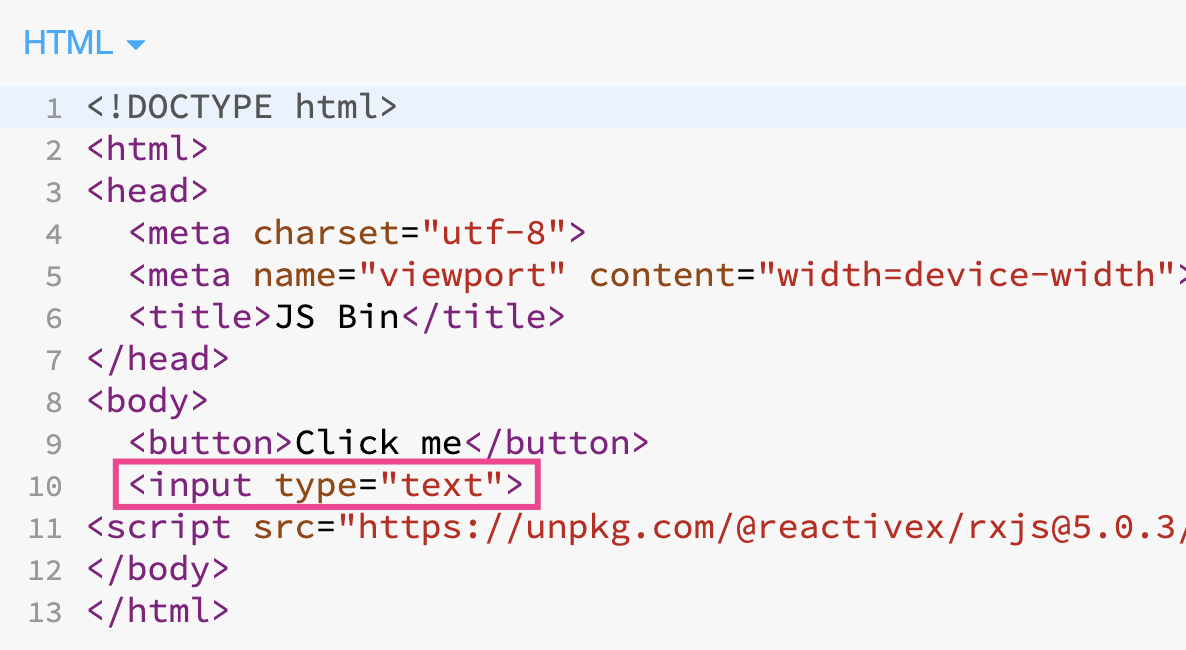
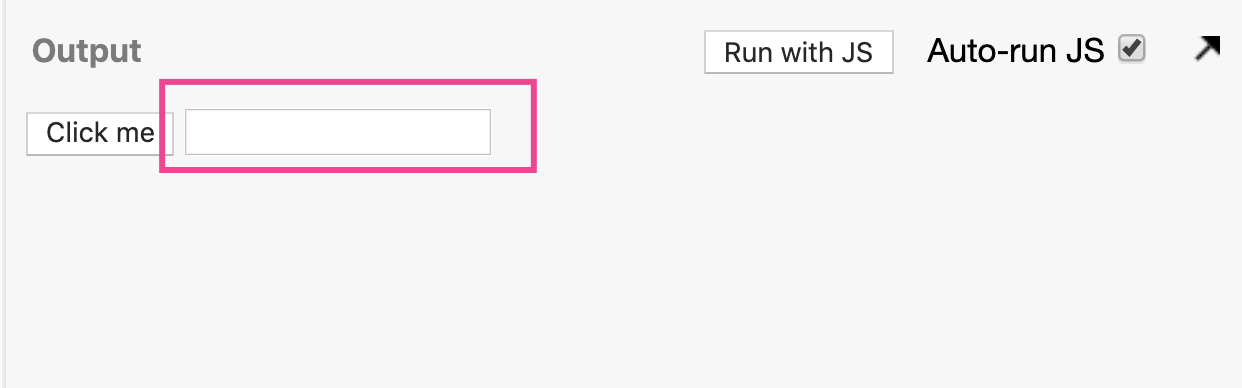
# html에 추가한 input tag를 잡는다.
var input = document.querySelector('input');

# 여기서는 event.target.value 값을 출력하겠다. Input에 키보드로 입력한 값을 출력한다.
var observer = {
  next: (event) => {
    console.info(event.target.value);
  }
}

# 이렇게 하면 Input에서 입력한 값을 출력한다.
var observable = Rx.Observable.fromEvent(input, 'input');
observable2.subscribe(observer2)

"""
여기서는 debounceTime(2000)을 줬다. 그 뜻은 이벤트가 끝난 후 2초 후에 키보드 입력값을 출력한다는 뜻이다.
입력 하자마자 입력된 값을 출력하고 싶으면 debounceTime을 뺴야한다.
"""
observable.debounceTime(2000).subscribe(observer)
여기서 잠깐 집고 넘어가야 할 것이 있다. throttleTIme과 debounceTime의 차이점이 궁금할 것이다.
throttle 같은 경우에는 그냥 첫 번째 이벤트 emit이 있고 ~ 초간 이벤트를 무시한다.
debounceTime은 첫번째 이벤트 따위 없고 그냥 이벤트가 없으면 그때부터 ~초 후에 이벤트를 emit 한다.
동영상으로 보면 이해가 더 쉽다. 내가 생각했을 때 두 개의 operator의 성질이 조금 달라서 굳이
차이점을 설명할 필요가 있나 싶은데.. 이렇게 굳이 비교해서 까먹진 않겠네^^
distinctUntilChanged: 현재 값이 마지막 값과 다른 경우에만 emit 한다.
https://www.learnrxjs.io/learn-rxjs/operators/filtering/distinctuntilchanged
distinctUntilChanged
www.learnrxjs.io
var input = document.querySelector('input');

var observable2 = Rx.Observable.fromEvent(input, 'input');

"""
예를 들어보겠다. user name을 입력하는 input이 있다. 유저가 user name을 입력하면 그 값이 유효한가
validation을 하려고 한다. 그럴 때 유저가 키보드를 입력할 때마다 http request를 보내면 답이 없어진다.
그래서 그런 상황에서 debounceTime()을 사용하면 http request를 매번 키를 누를 때마다 보내는 것보단
적게 보내게 될 것이다.

이런 경우도 있을 것이다. user name을 paige라고 타이핑하고 1초가 되기 전에 pai로 지웠다가 다시 paige로
입력을 했다면 전 값도 paige, 현재 값도 paige가 된다.
그러면 굳이 같은 값인데 두 번 http request를 보낼 필요가 있을까? 보내기 싫을 때,
전 값과 지금 값이 달라졌을 때! 이것을 인지하는 operator가 distinctUntilChanged이다.

그럼 아래 코드 처럼 짜면 맞을까..?
"""
observable
   .debounceTime(1000)
   .distinctUntilChanged()
   .subscribe({
   next: (event) => {
     console.info(event.target.value);
}})

"""
위에 처럼 하더라고 원하는 겷과는 나오지 않을 것이다.
왜냐하면 next 부분에는 console.info(event.target.value) 로 event.target.value를 사용하는데
위에 distinctUntilChanged() 이 실행 될 때 받는 데이터는 그냥 event이다.
그래서 map을 사용한다.
map으로 값을 event.target.value로 수정한다.
"""
observable
	.map(event => event.target.value)
    .debounceTime(1000)
    .distinctUntilChanged()
    .subscribe({
    	next: (value) => {
        	console.info(value)
        }
})
처음으로 rx 정리를 해보았다. 생각보다 너무 재미있다. 어떻게 이렇게 clever 한 operator들이 많을까..
비동기 처리할 때 정말 필요한 애들인데 ㅋㅋㅋ
공부 더 많이 해서 어떻게 실제로 사용하는지 많이 연습해 봐야겠다. 아직 100% 이해가 되진 않았지만 그래도 꽤 이해가 됐음
와 근데 너무 재미있다. ㅋㅋ Max 고마워^^
출처 : https://www.learnrxjs.io/, https://www.youtube.com/playlist?list=PL55RiY5tL51pHpagYcrN9ubNLVXF8rGVi등등..
'개발이나하자.. > frontend' 카테고리의 다른 글
| [javascript] Javascript Hoisting | 자바스크립스 호이스팅 | Let, var, const (0) | 2020.07.29 |
|---|---|
| [javascript] 객체 복사와 참조 차이| object deep copy | 객체 깊은 복사 (0) | 2020.07.13 |
| [javascript] 자바스크립트 완전 기초 (0) | 2020.07.08 |
| [RxJS] RxJS tutorial | scan, reduce, pluck, mergeMap, switchMap (0) | 2020.06.11 |
| [RxJS] RxJS기초1 | RxJS는 언제 쓰나요? | Observable? Observer? Subscription? (0) | 2020.06.09 |


